Level Editor - Guide

Introduction


The level editor in The Shadowed Rune is not just a level editor: it is a complete dungeon editor, because even though they may look like small levels in size, they can be connected to one another, always starting from level 1. Why did I choose this size? It is no coincidence, it is similar to the size of the rooms generated in the Arcane Tower. Perfect for building puzzles and experiences without causing problems when playing in co-op (two players on the same screen).

The editor has its own tutorials inside the game and many help texts so it is easy to create simple levels. Here I am going to explain the functions that can be more difficult to understand.

Accessing the Level Editor

To unlock the level editor, you must complete two actions during the game campaign. This way, before accessing the editor, you will already understand how The Shadowed Rune works, including its traps and mechanics.

The first step is to unlock the ‘Portal Hall’ in the Camp. Invest 500 coins in the project and the instance will open with a first portal. However, you will not be able to use it yet.

The second required step is to reach a Sanctuary for the first time (level 1-3) with the ‘Portal Hall’ already unlocked. There you will meet Adrian, who, upon learning about the existence of the portal in the camp, will offer to investigate it and activate the portals.

The Portal Hall

You now have the Level and Dungeon Editor unlocked. You have access to 5 portals with small example levels to learn the basic operation of the editor, as well as 10 additional portals for your personal use (portals are shared between save profiles).

In these portals, you will have several actions available. By clicking on a portal you can enter edit mode for that portal, test it without the editor, or even upload it to Steam Workshop with a single click to share it with the community (the first time you do this, Steam may ask you to sign an agreement, which is normal).

I. Transitions

The first section is learning how to connect levels.

If you simply place an entrance portal and an exit portal, the portal will take you to the next level and it will be a linear progression. 

Light portals always lead to the next level  (+1) and if it does not exist, they return to the camp. This way you can connect levels from 1 to 100 (included), for example creating a linear dungeon made of up to 100 consecutive levels.

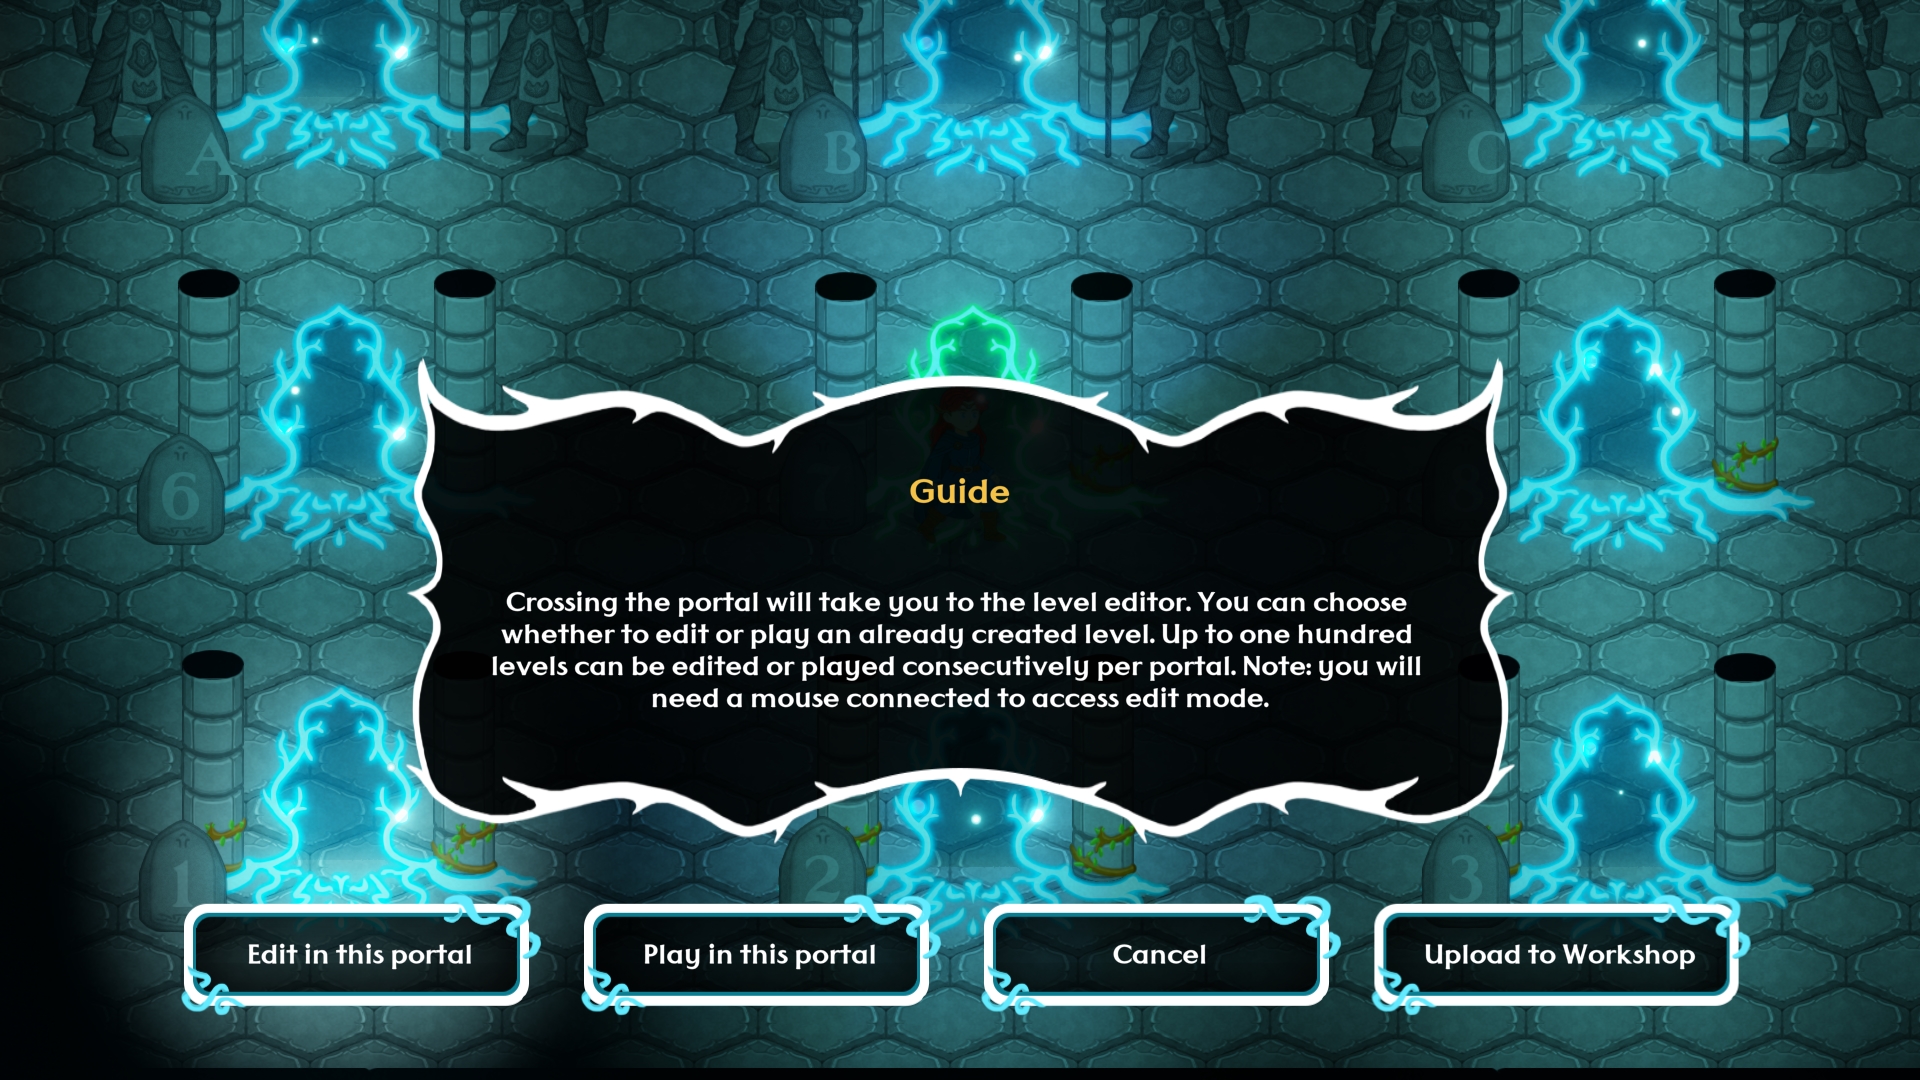
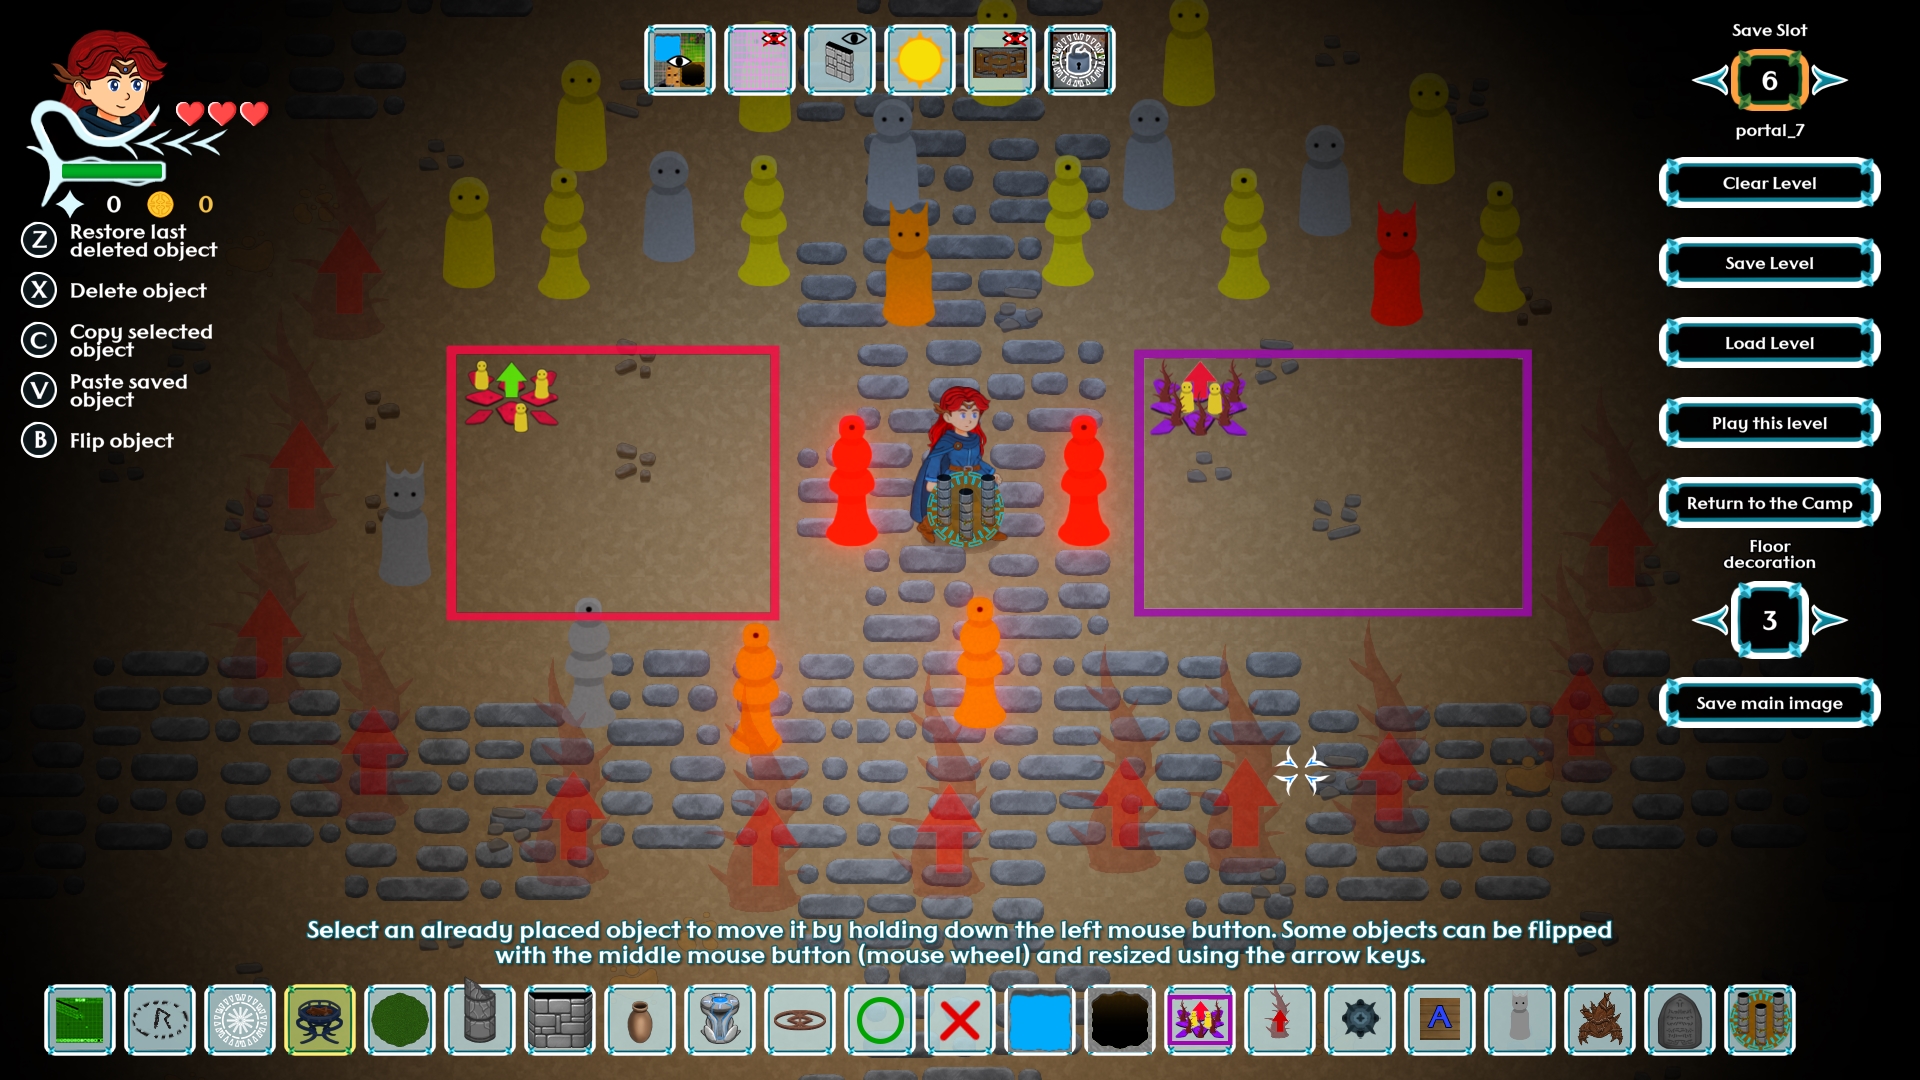
II. Transitions with Doors

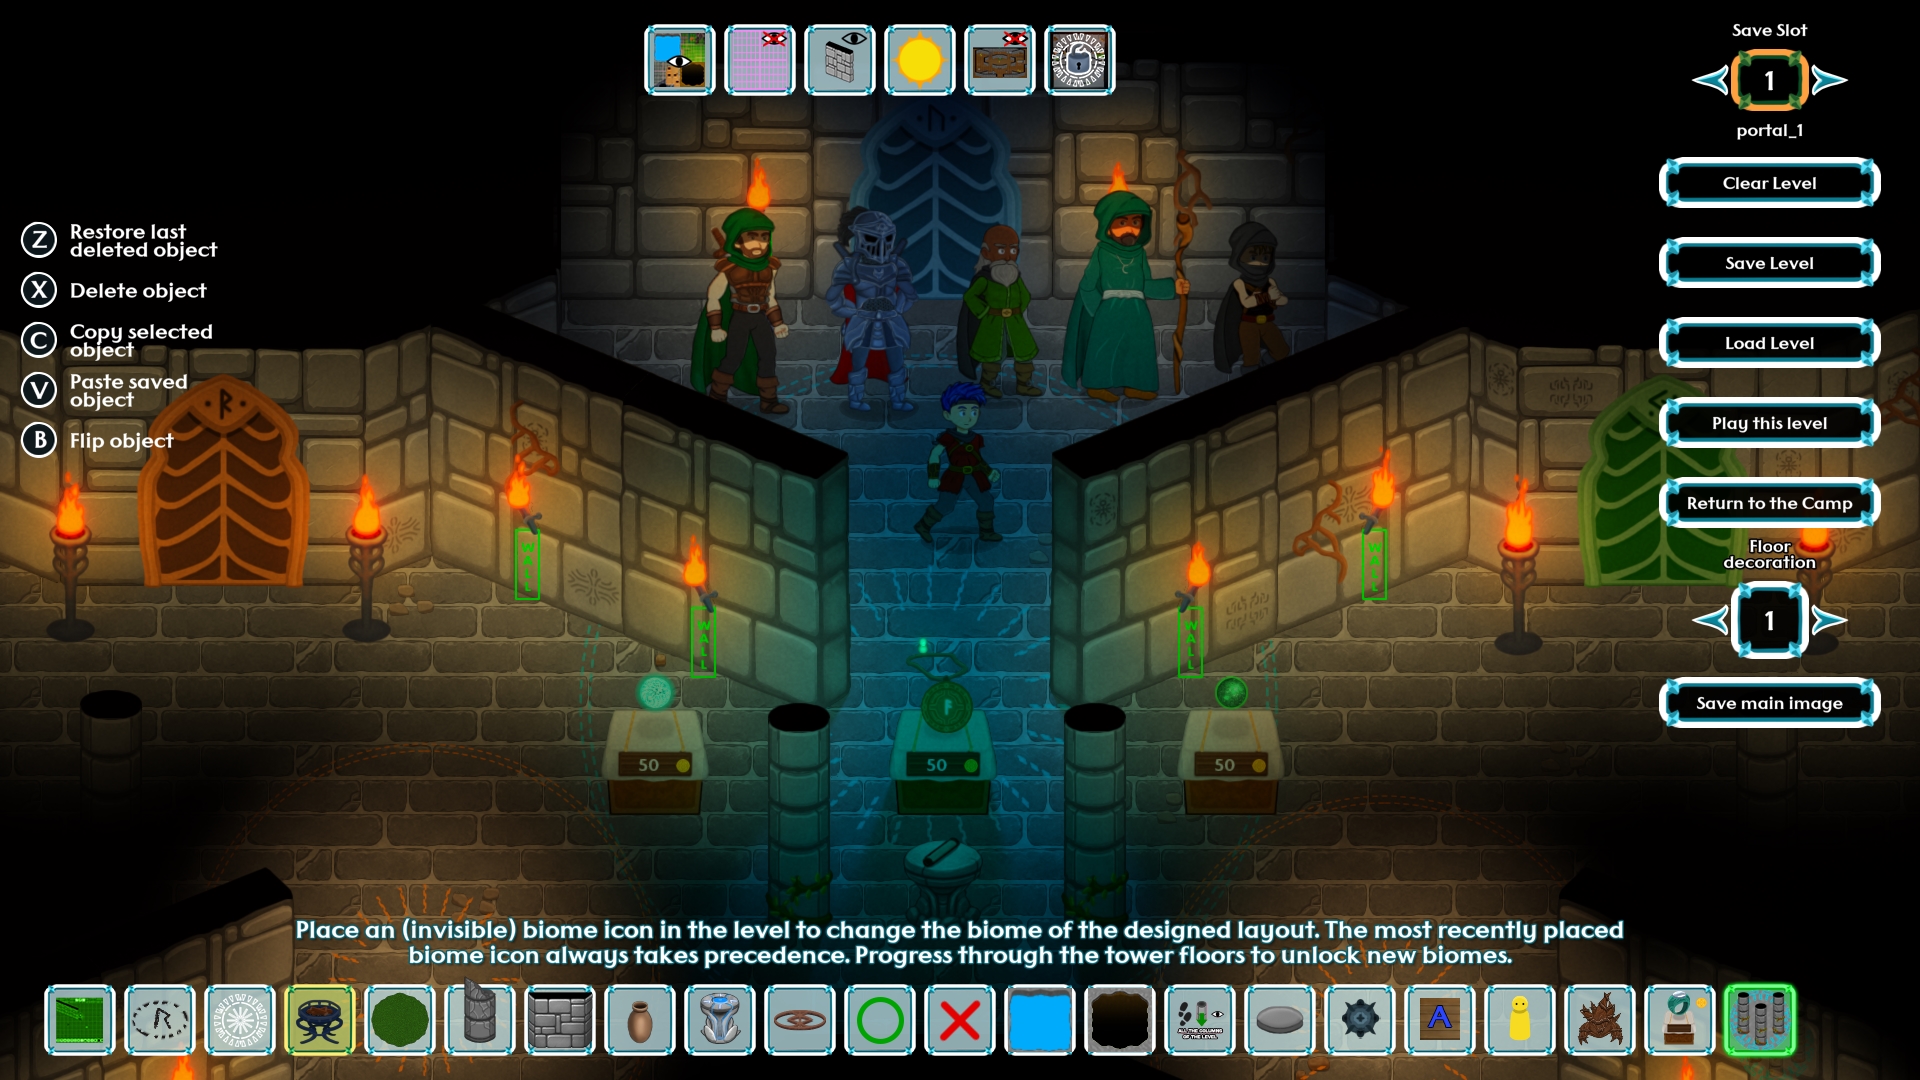
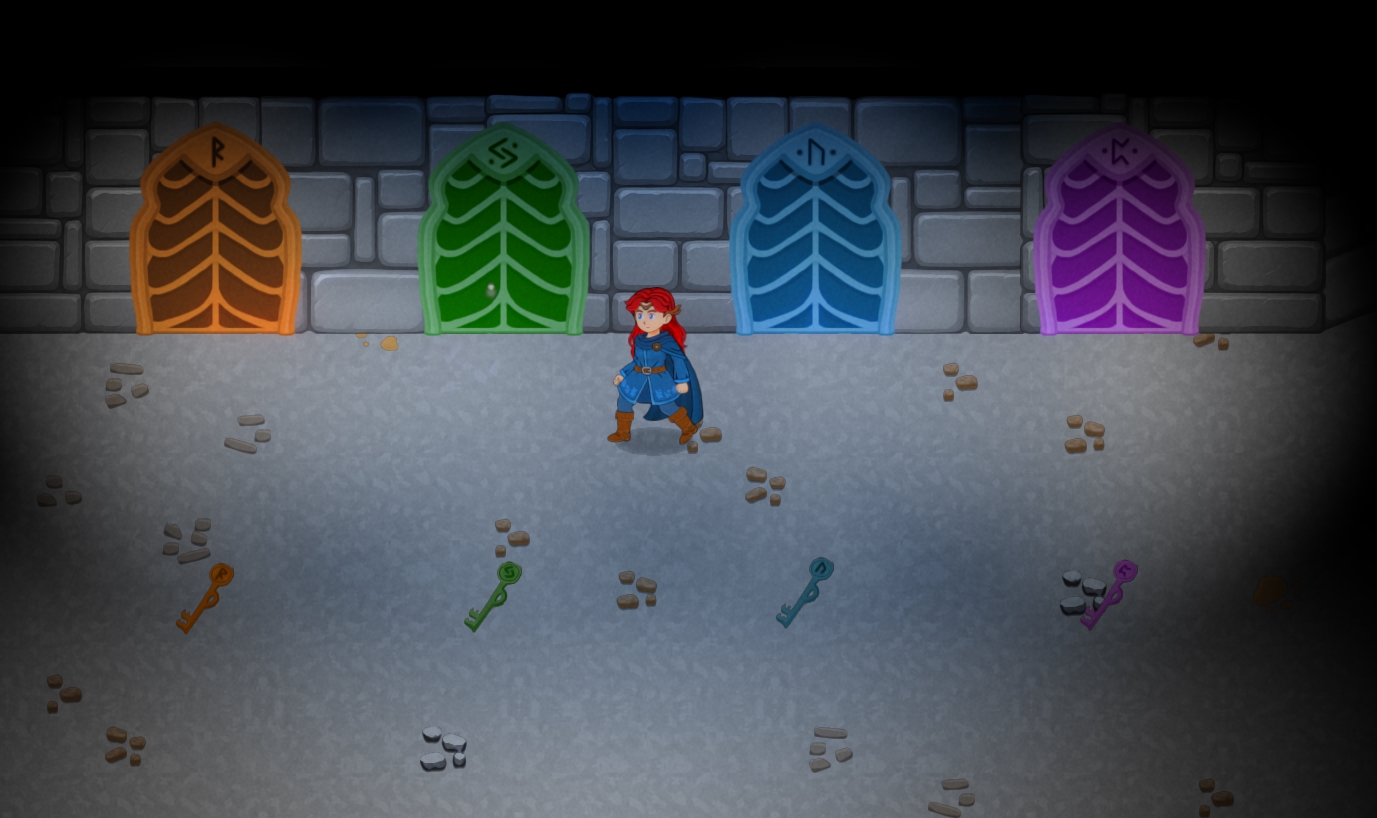
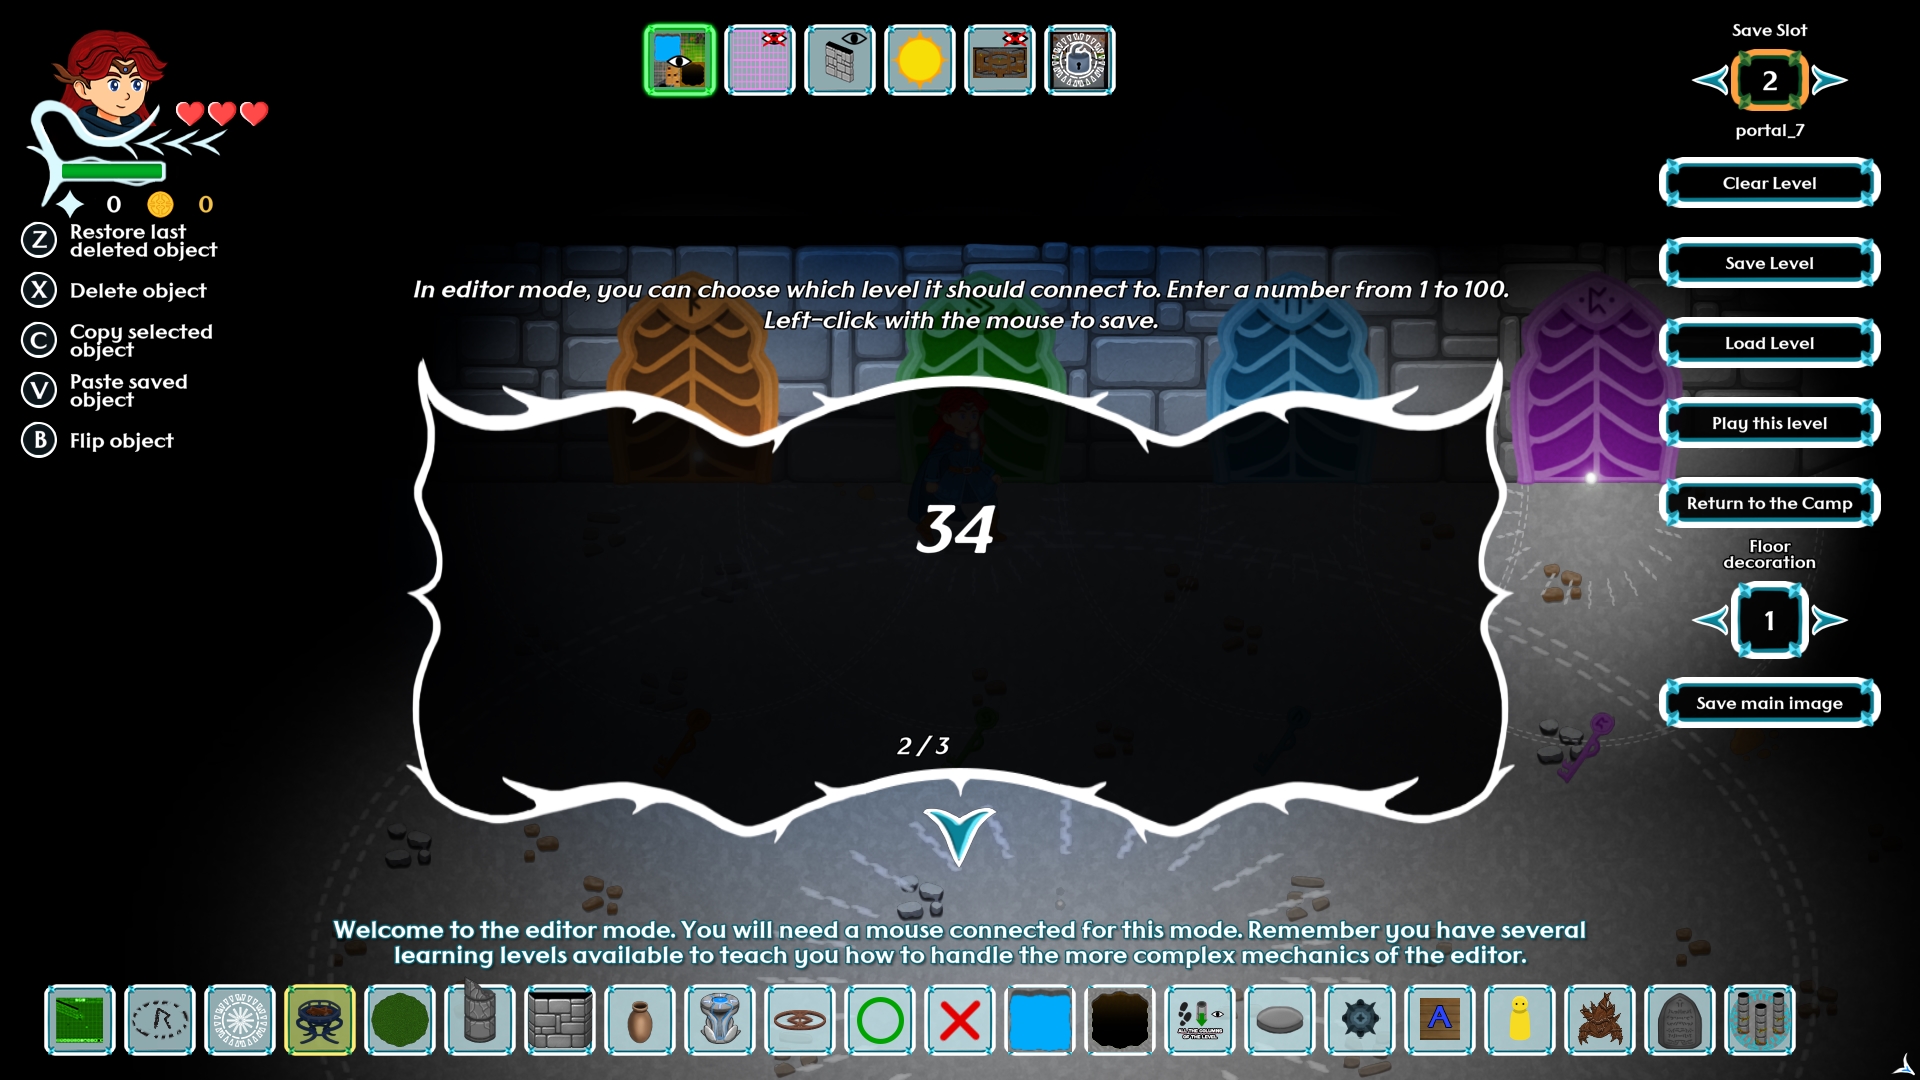
However, if you want to create a more complex experience, you can use the door system. There are four different runic doors. Each door is associated with a key of a specific color and rune.

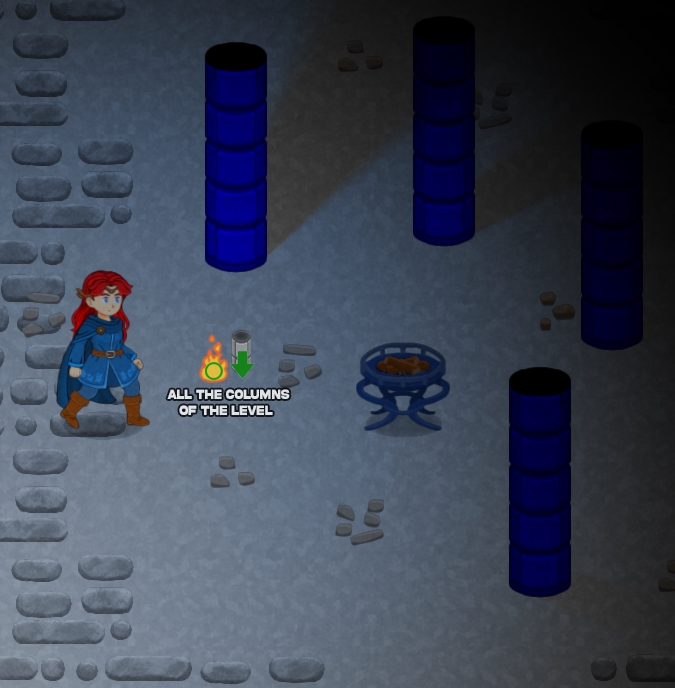
If you place a key of the same color as the door, the door will appear closed and will open when you pick up the key. If you do NOT place a key, the door will start open and can be used without needing a key.

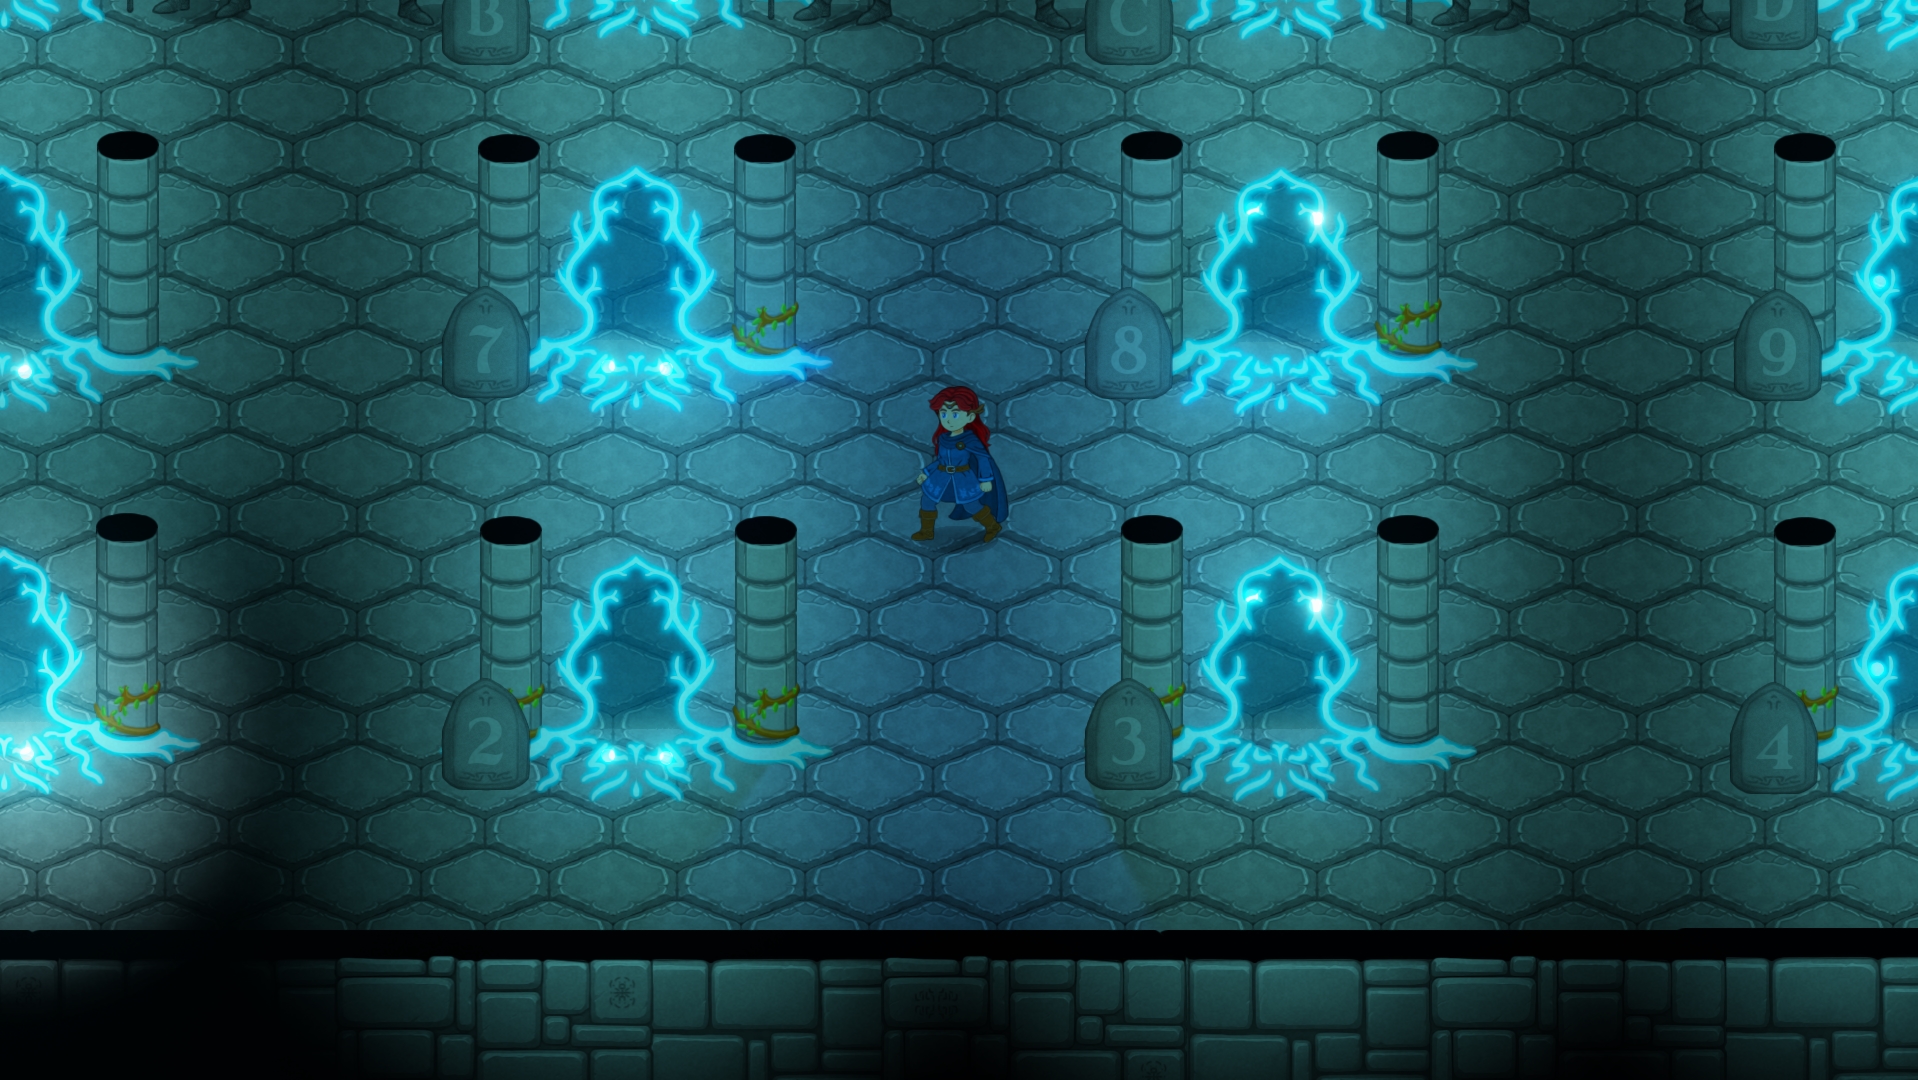
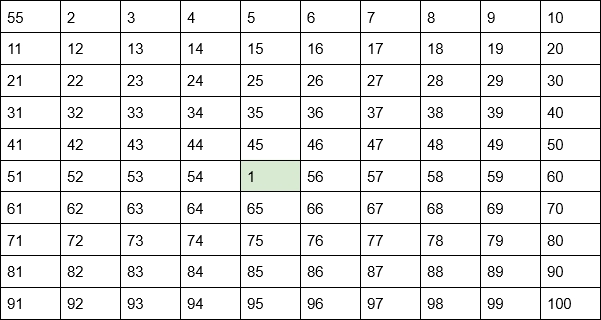
You can interact with doors in editor mode to write a number on them. If you place a key in the room associated with a door, the door will appear closed and you will need to find the key to open it. If you do not place any key, the door will appear open. The door, therefore, will lead to the level written on it. This way you can connect levels in a non-linear way, for example:

But wait, I have 4 doors, that means… can I connect one level to up to four other levels? That’s right. If you look at the image above, you have an example of a 100-level grid, organized to connect organically.

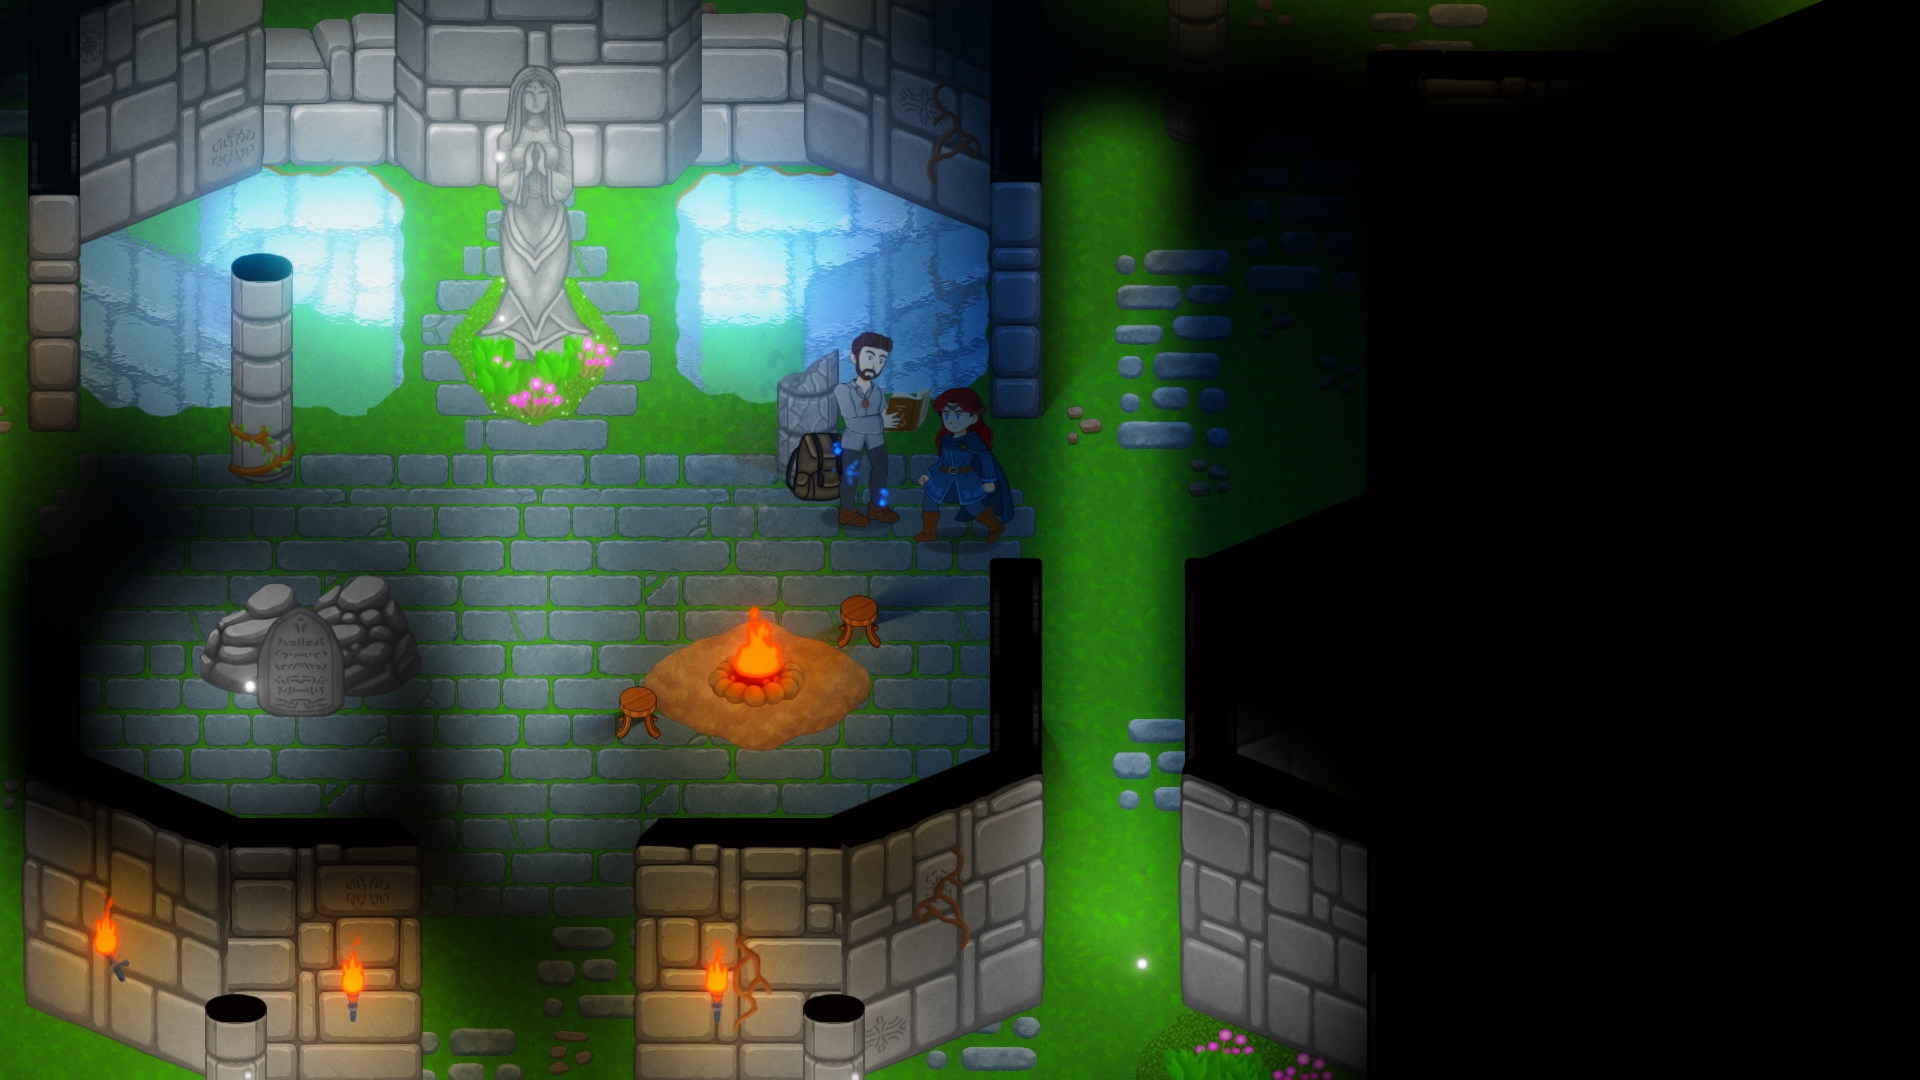
When designing a full dungeon, the first thing to keep in mind is that it will always start at level 1, so you should plan it from that initial starting level. If it’s a small dungeon of 1 to 3 rooms, no special preparation is needed, but if you want to create a full campaign, planning ahead is highly recommended.

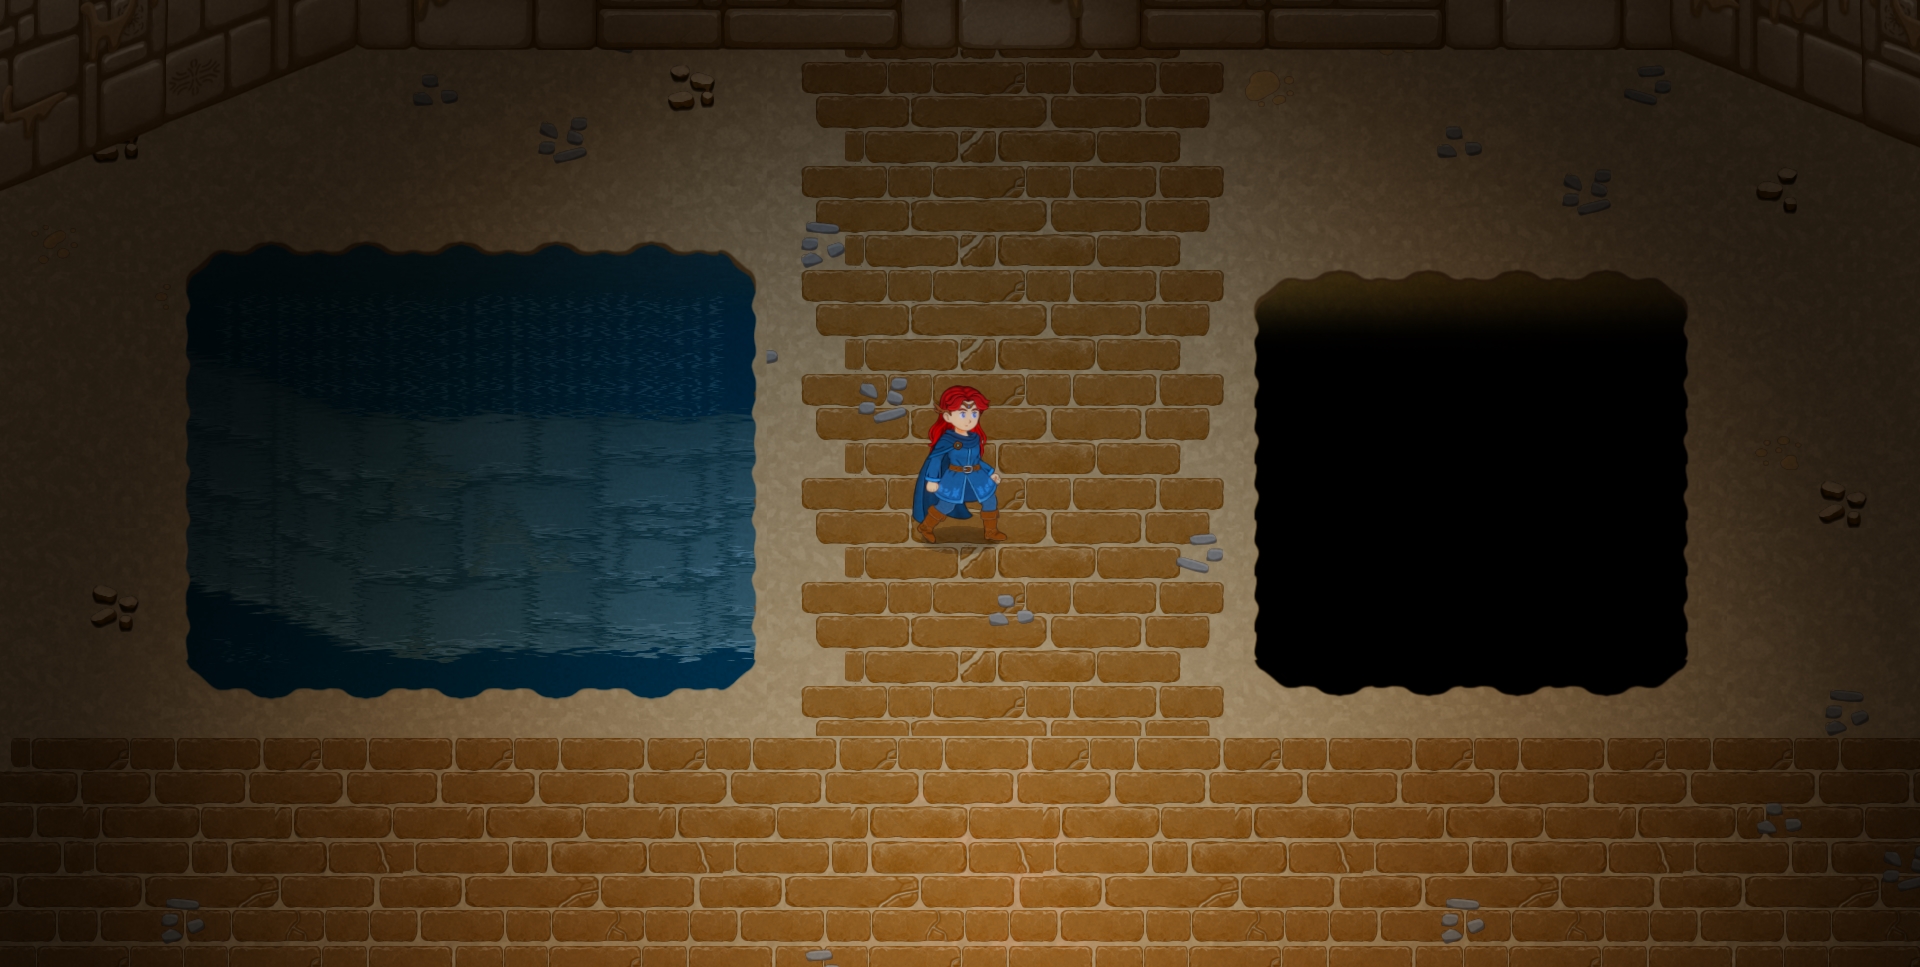
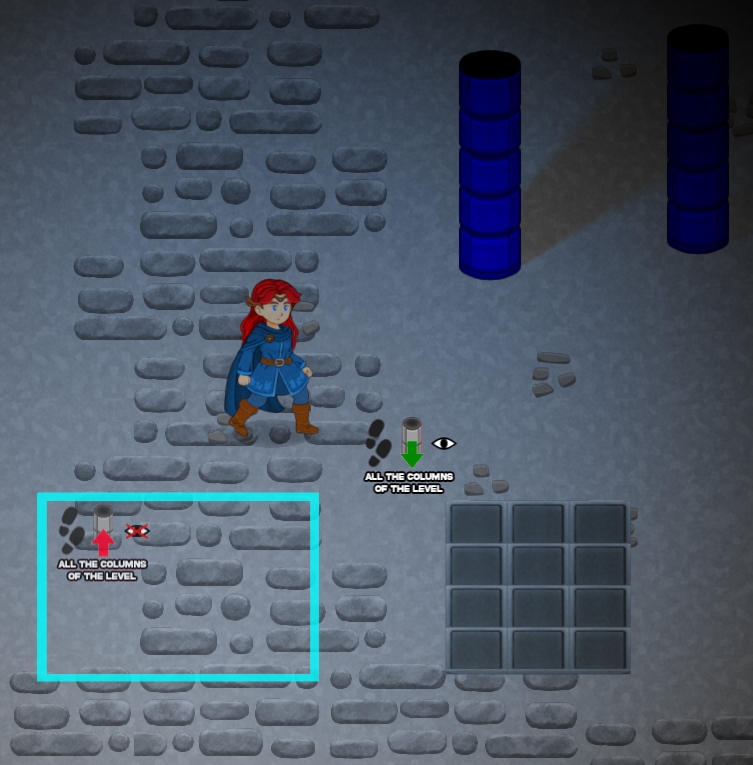
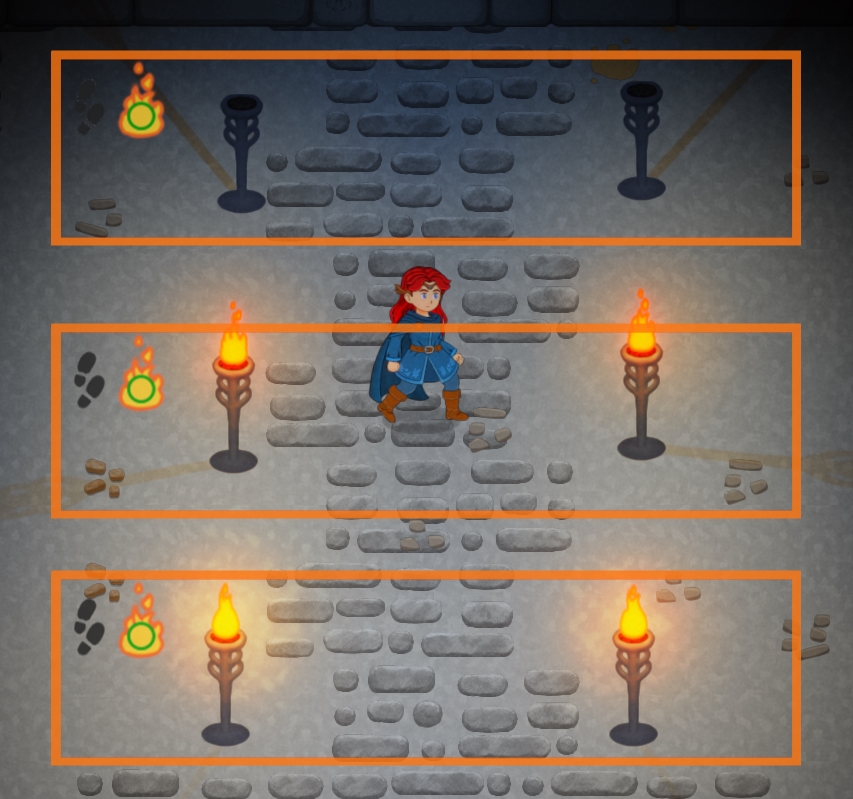
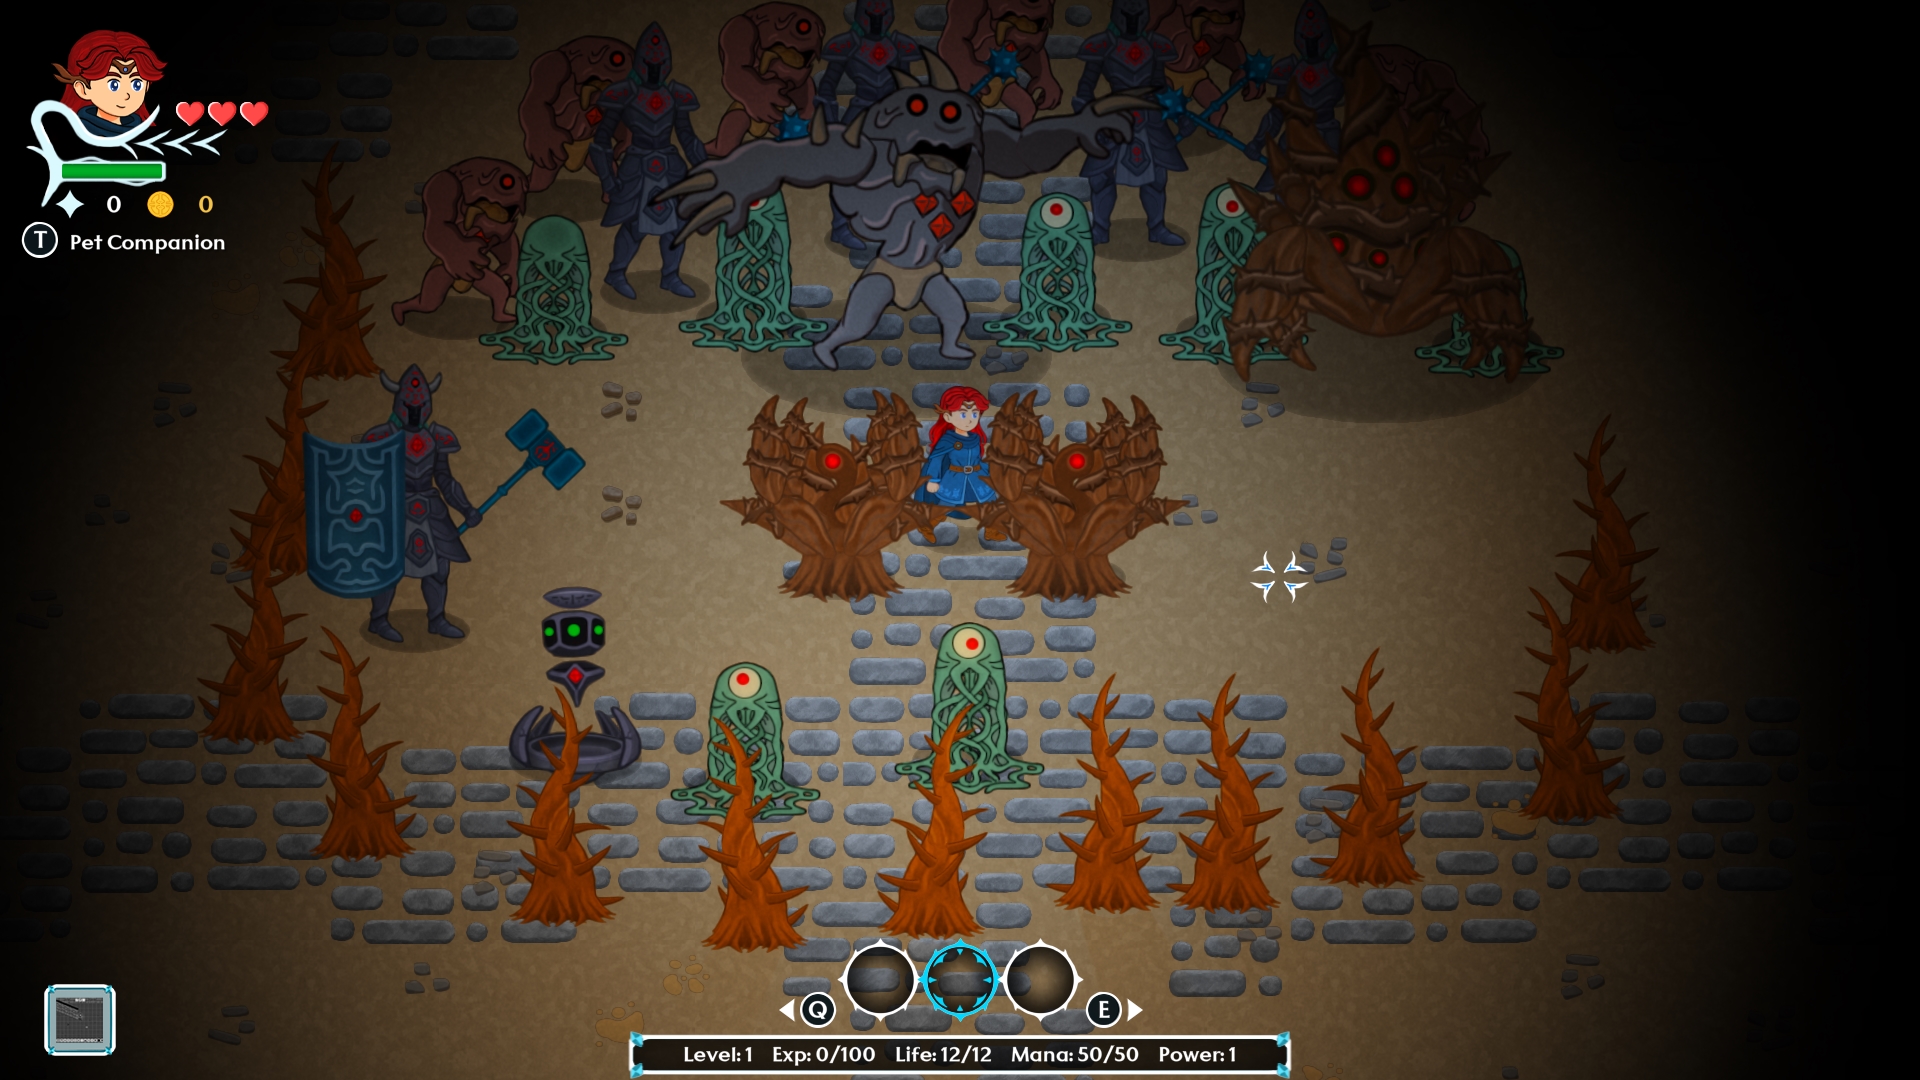
Also, if you link two levels with doors of the same color, the player will appear in front of the door they crossed, allowing you to create very fun experiences, different paths, etc. If you do not link doors, the player will appear at an entry rune or in the center of the room. There are also decorative closed doors that work like an entry rune, placing the player at their position once the level begins.


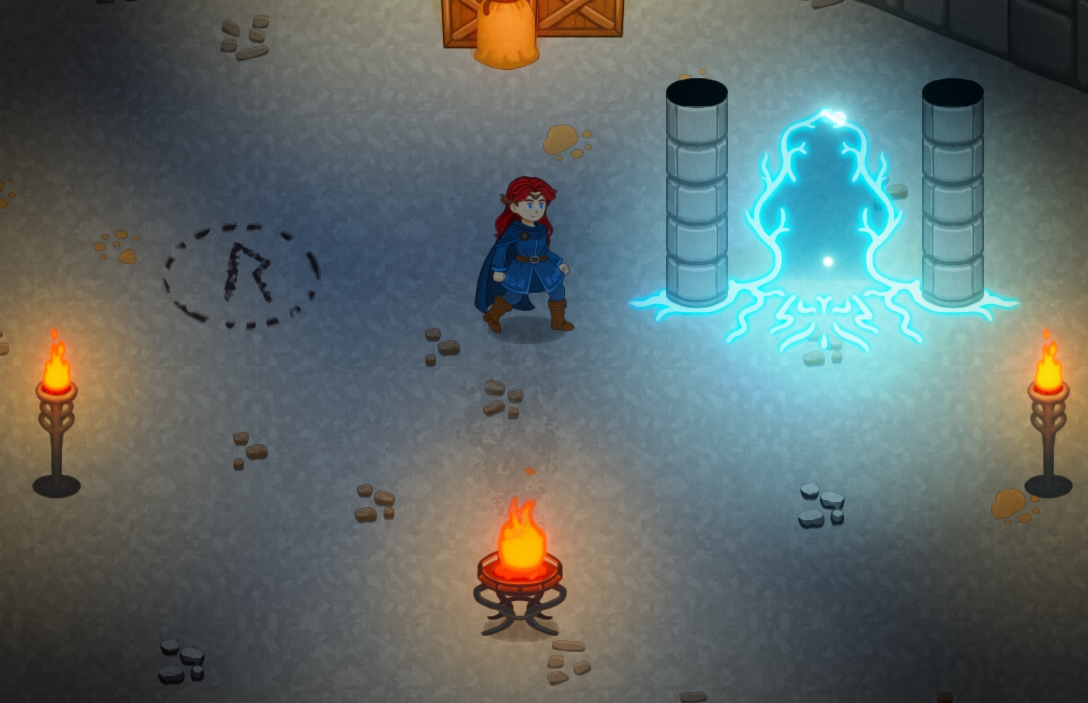
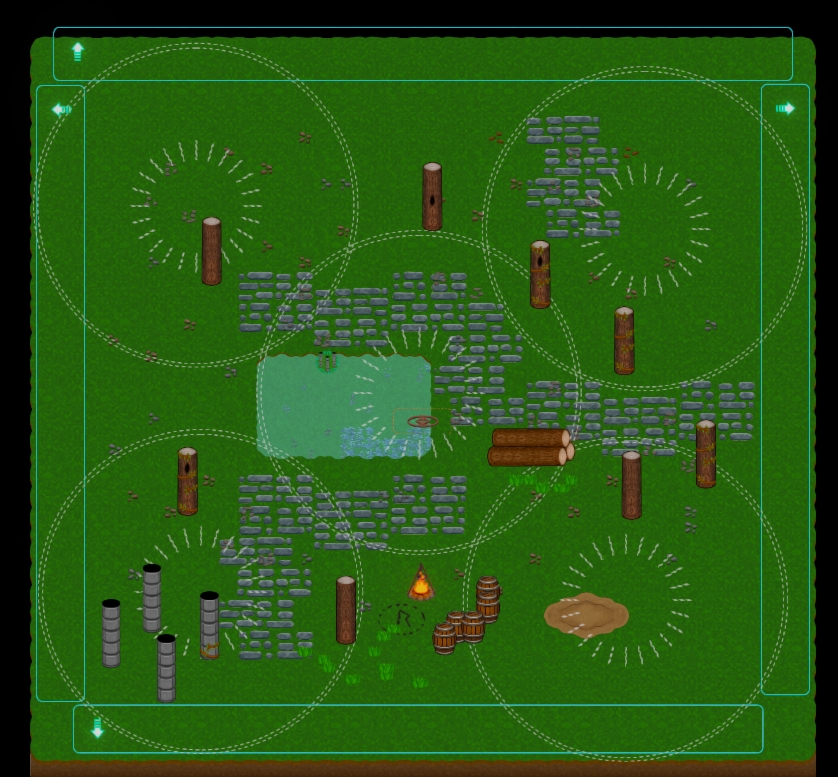
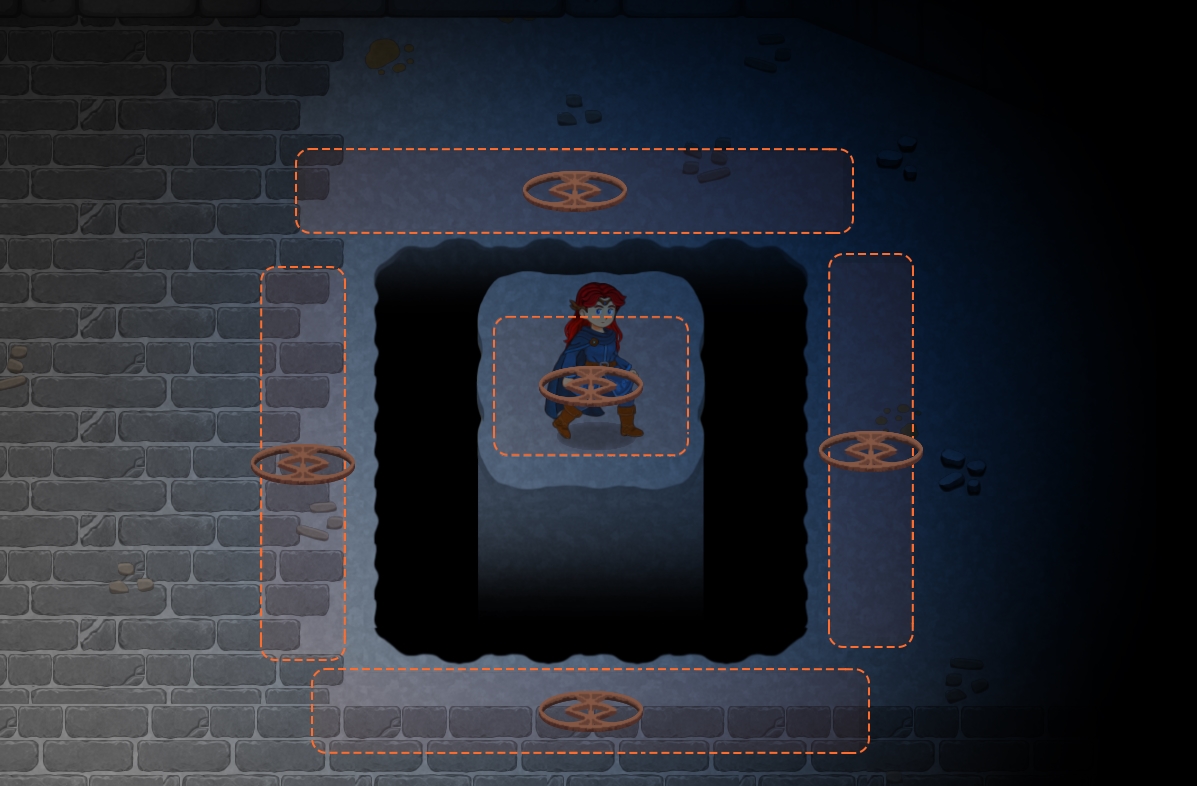
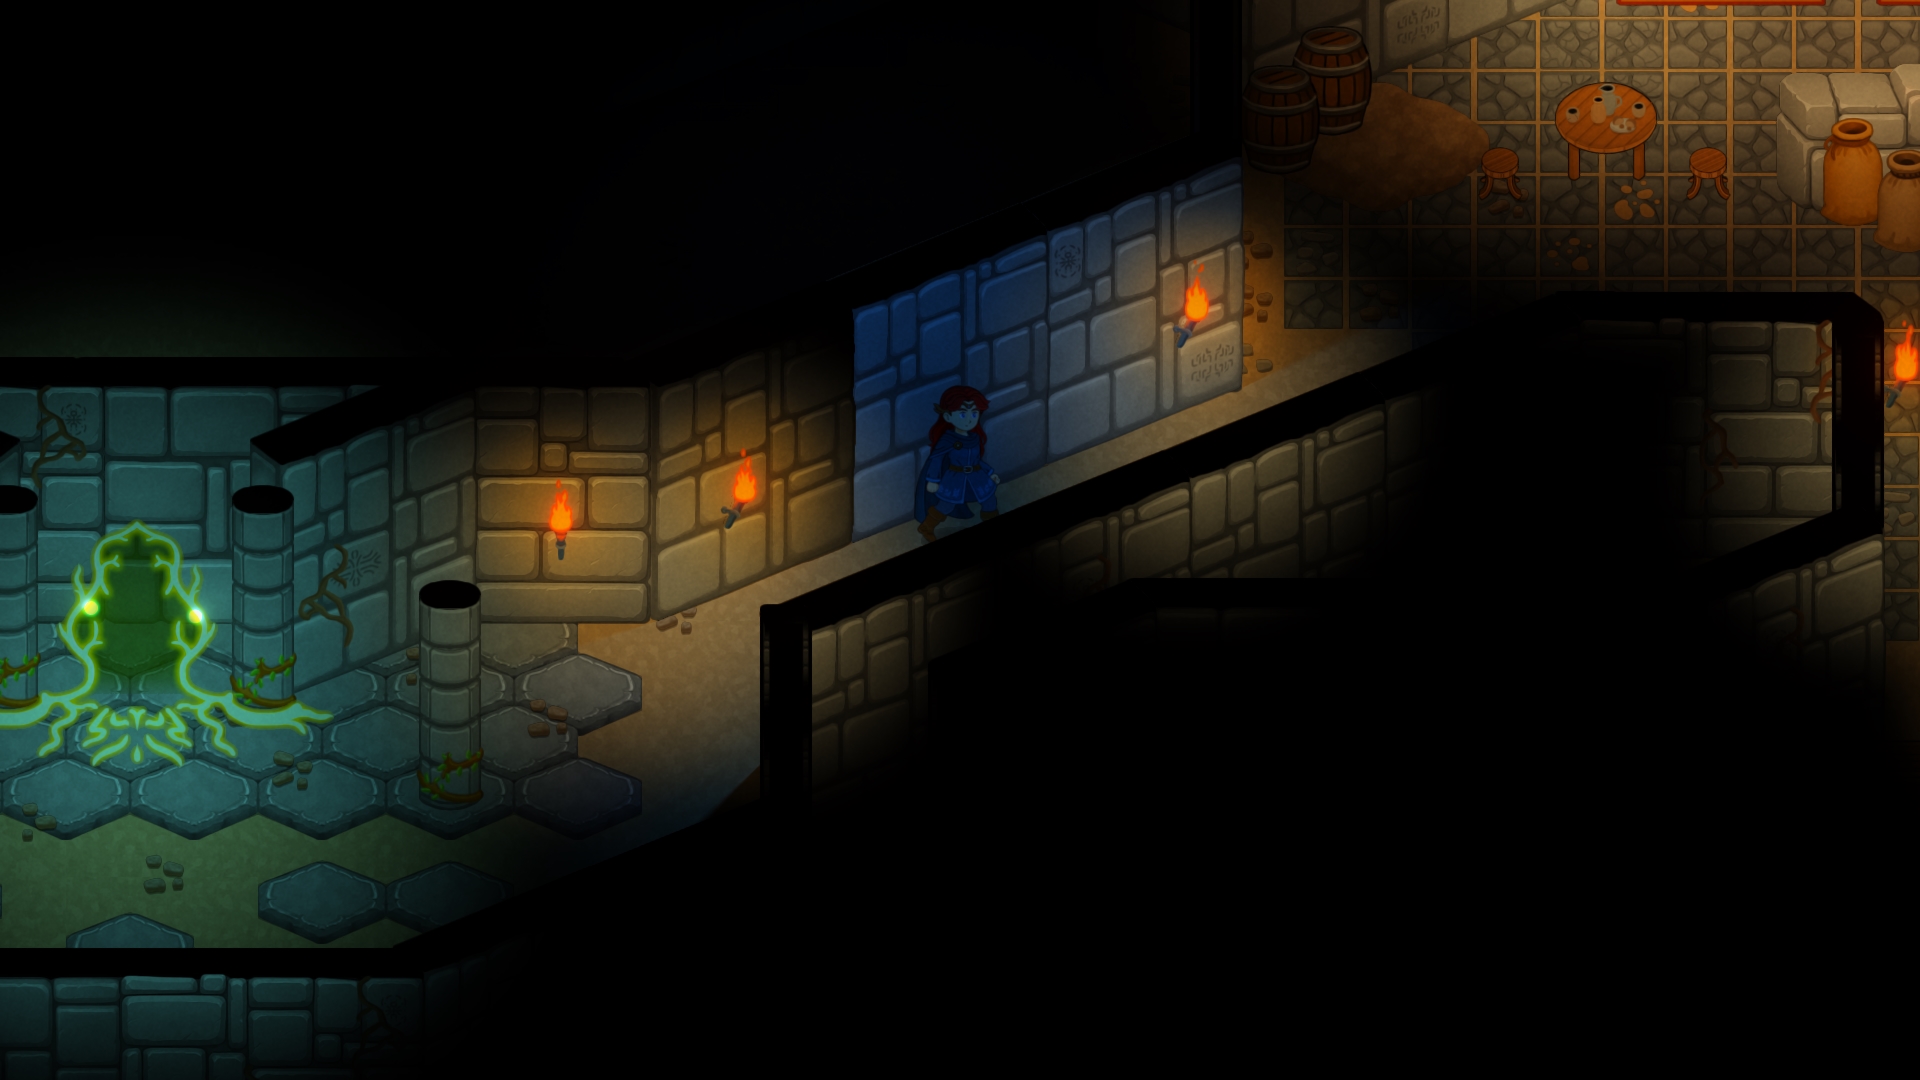
Can you see the two doors in the image above? They are not the same. The difference is in the two dots that accompany the rune · R ·

A simple rune (without two dots) means the door can only be crossed once. It will take you to another room, and when you return to this room, the door will appear closed and, if there was a key, it will disappear.

A rune with two dots · R · means it can be crossed again if you return to the same room twice. Now, you may wonder why this is important.

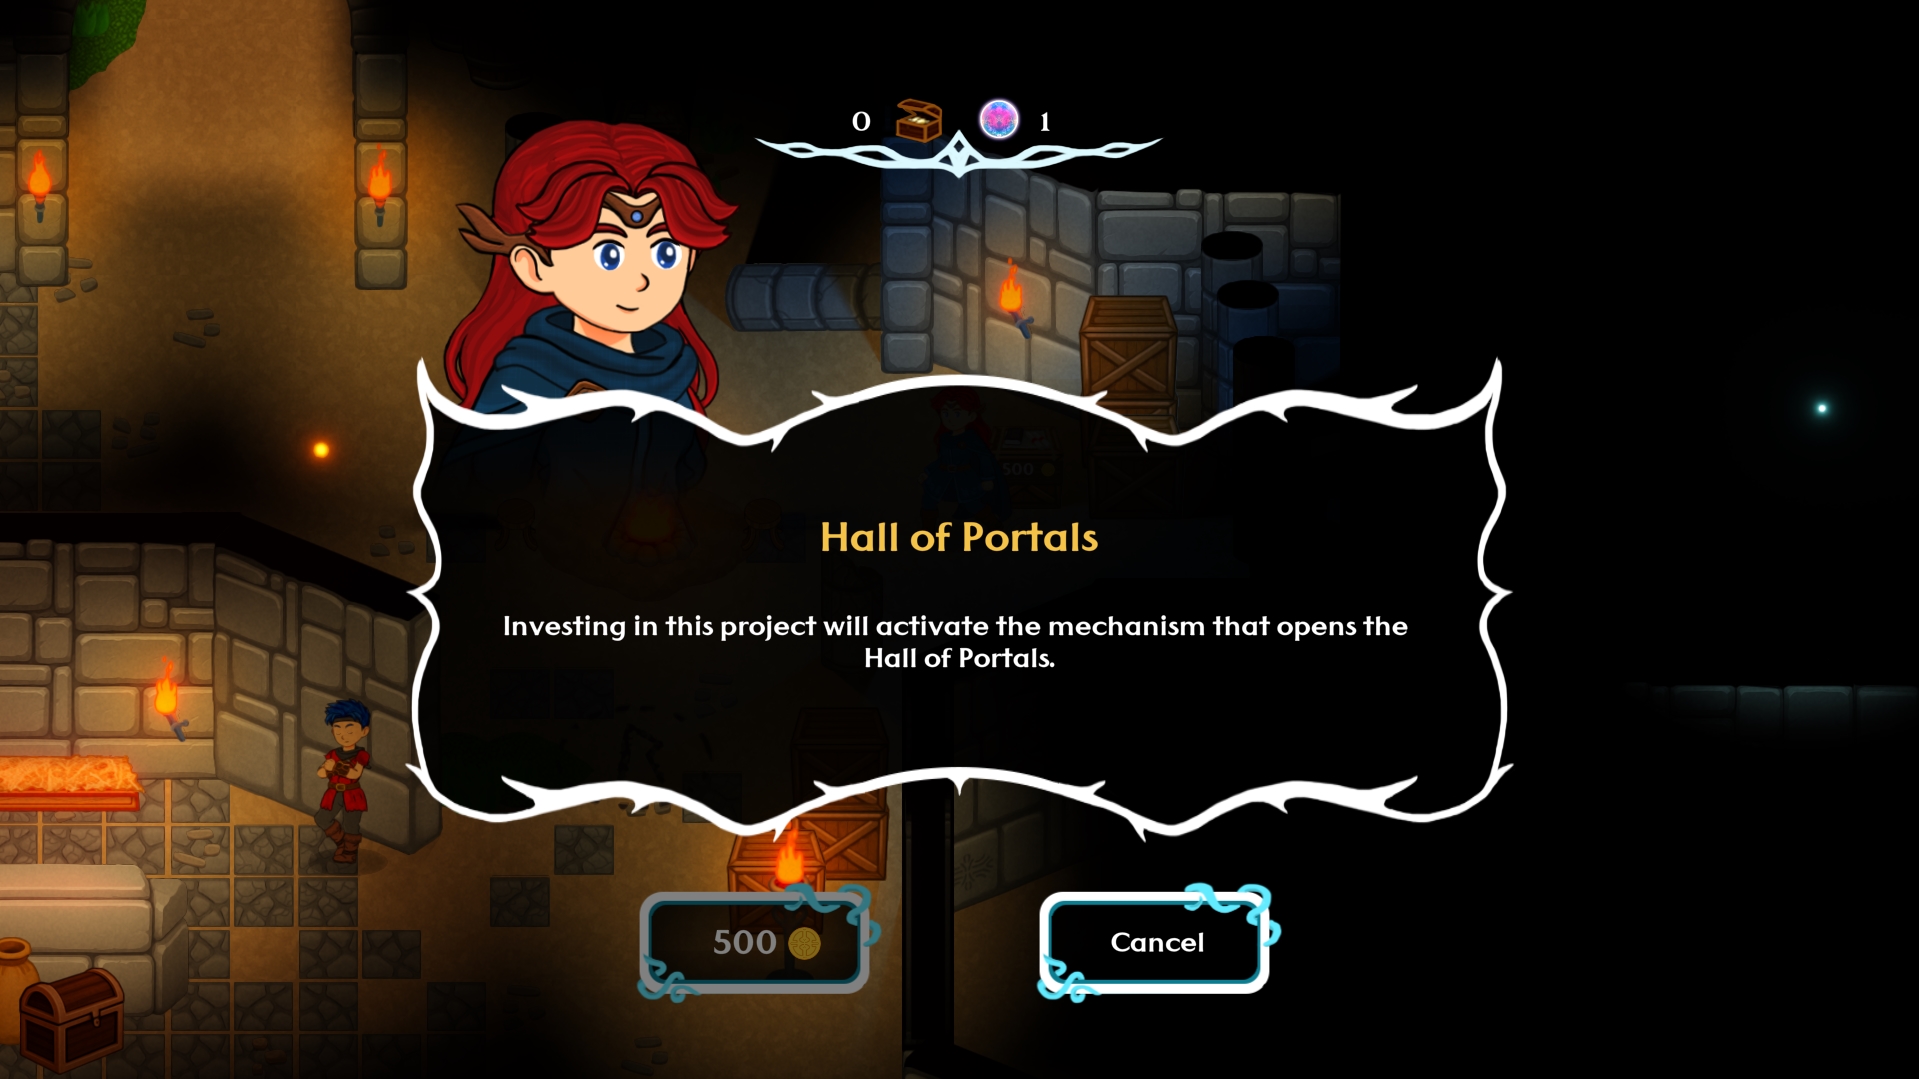
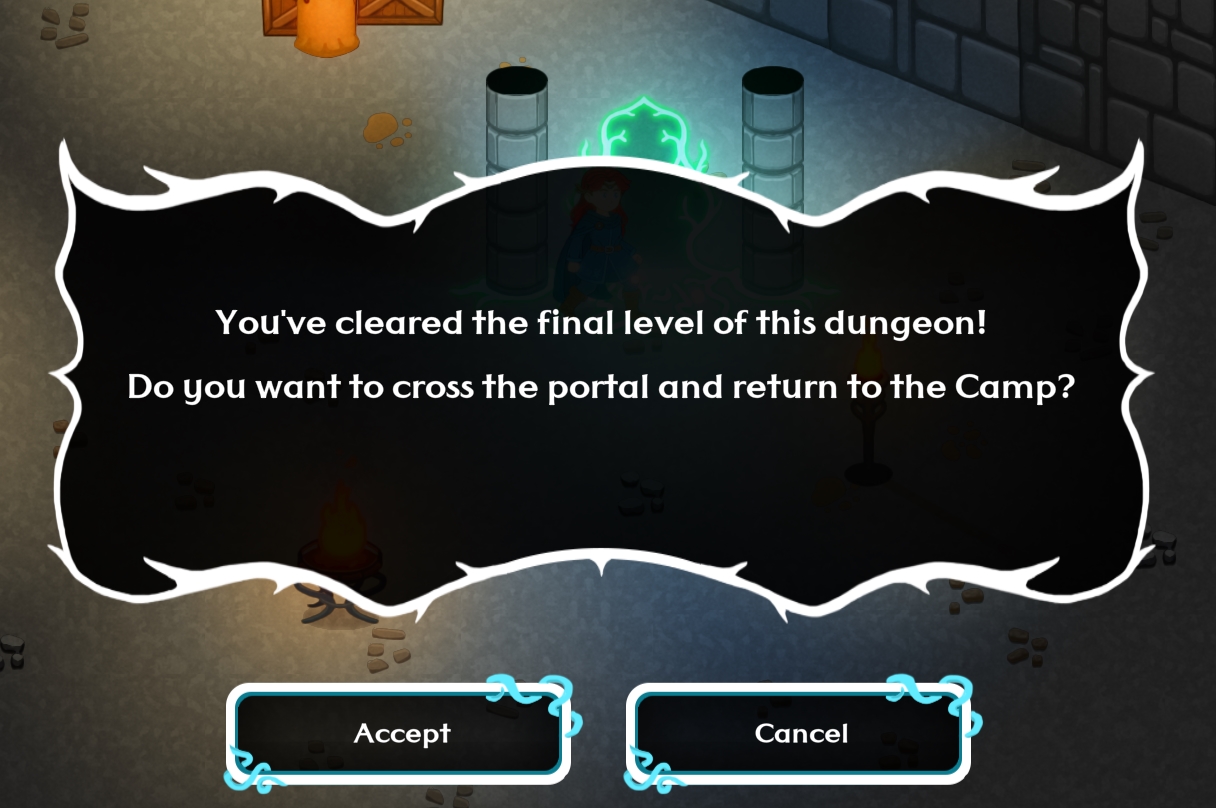
In The Shadowed Rune Dungeon Editor, levels do not save their progress. If you return to a level with items, treasures, or enemies, the same treasures, items, and enemies will appear again. The experience is designed to go through each level only once. However, you may want to create a story with return points, camps, shops, etc. In this case, one-way doors are ideal for that.

You can link a door with a simple rune to, for example, a treasure room. The player will be able to collect the riches inside, but as soon as they leave and return to the level they came from, the door will remain closed for the rest of the adventure and they will not be able to enter again.

Use this method to create levels with powerful bosses, treasures you only want players to take once, etc.

III. Level Transitions

A third option, for expert world architects, is to use level transitions. There are also 4 transitions, each associated with a direction (north, east, south, and west). These transitions are used to create very open levels, even without walls, to give the appearance of an outdoor level or to skip having to press a door to go to the next level.

With this connection mode you have to keep in mind that transitions work crosswise. If the player exits through a transition with an arrow to the right, they will appear in the indicated level in front of a transition with an arrow to the left.  Likewise, if they exit to the north (arrow up), they will appear at a south transition (arrow down).

Although it is a very interesting system, you must keep in mind that the player will leave the level automatically just by getting close to a corner of it, so it is advisable to design levels so they cannot leave a level by mistake, for example in the middle of a fight.

These rooms are always two-way, so they are ideal for transition areas, open worlds, towns, camps, etc.

IV. Safe Zones

There is a symbol in the editor that, once you are playing, is invisible. These symbols are key and there must be at least one per level. The player, when spawning, always creates one at their entry position, but you should place them in strategic places surrounding abyss areas and deep water. 

If the player falls into an abyss, they will appear at the last safe point they stepped on (without knowing it), so it is a good strategy to surround abysses with safe points so the player has a place to return to automatically.

There are different symbols already prepared, with different sizes, and you can increase their size with the keyboard arrow keys.

Tip: From the general map view mode, scaling placed objects is 5 times faster.

V. Triggers

You will have noticed that there are lots of trap and trigger icons to create your own puzzles. The goal is for you to be able to create your own levels with elemental puzzles, but also create ambushes and different and original combinations.

We are going to divide the types of triggers into three types:

A. Global

These triggers affect all elements in the level just by placing them. You will easily recognize them because they have no border. Simply by placing one and leaving editor mode, it will become active and, if the condition is met (for example, lighting all the torches and braziers in the level), it will trigger its action. In the example, all movable columns will be disconnected, opening closed areas. You can identify movable columns because in editor mode they are tinted blue.

B. Positional

These triggers affect all elements in the room (columns, secret walls, enemies, etc.) and can be visible or invisible. If they are invisible, they will have a frame in editor mode. This is the player’s collision area. The area can be increased using the keyboard arrow keys. If they are visible, they will look like stone tiles and will light up when activated. They will perform their action when a player walks over them. They can also be single-use or multi-use, depending on their icon.

C. Selective positional

These triggers affect only some elements in the room. They are only used to turn fire elements on and off when the player passes through their area. To use them correctly, their area must include the torches, braziers, candelabras, etc. that you want to light or extinguish. When used well, they can create environmental effects, but they can also be combined with other triggers to create complex puzzles.

D. Ambushes

These triggers are similar to positional triggers and affect all elements in the level, in this case enemies and roots. When a player enters an ambush area, all the “chess pieces” will turn into different enemies depending on the room biome. In addition, all placed roots will grow (if it is the roots + enemies icon), blocking the way. They will only disappear if all enemies in the level are defeated or if you leave the level.

Normal enemy triggers (red icon with yellow pawns) will only activate enemies, but purple triggers will activate all placed root icons. They are ideal for creating ambushes, boss fights, etc.

Of course, you can always place any enemies you want in each level using their corresponding icon. You will be able to access all enemies you have unlocked in the Compendium. However, ambushes depend on the biome selected with its corresponding icon, so it will allow you to access enemies you may not have discovered yet… shall we start experimenting?

Steam Workshop

By interacting with the inscribed tile in front of each portal, you can choose a name and description for your dungeon. Additionally, if you enter the portal, you will have a button in the editor to capture a “cover image” for your dungeon. This will be the main image of your dungeon when uploading it to Workshop. With just these two requirements, you can upload your dungeon and share it with the world. However, make sure it can be completed and has an exit, otherwise you will force the player to return to the main menu to escape.

Note: The limit of 10 portals per account is not an arbitrary decision. Steam Workshop and Steam Cloud provide generous storage limits, but between other users’ levels and your own, this limit could be exceeded. If you run out of space, you can move your created levels and their manifests to another directory (outside the save directory) to free up space, but be careful, as you will no longer be able to update dungeons you previously uploaded. This way, you can create additional dungeons after filling the 10 camp portals.

Accessing Steam Workshop

All right, you have uploaded your dungeon to Steam Workshop and now you want to know how other players can access it. We will explain it to you, it is a very simple process.

Near the player spawn point in the camp, there is an area that was previously empty, located to the southwest of the camp. This portal is always unlocked and becomes available the first time you return to the camp after completing the prologue. When activated, it will give you access to the list of dungeons you are subscribed to. Simply press the ‘Go to Workshop’ button to access Steam Workshop and browse the list of community-created levels. When you subscribe, Steam will synchronize and download the levels so they appear in the portal list. Once a level appears in the list, it is immediately playable, enjoy!

Note: Steam may take some time to synchronize the dungeons you have subscribed to. If this happens, exit the game, wait a few seconds for Steam to finish syncing, and then re-enter.

The Shadowed Rune
Privacy Overview

This website uses cookies so that we can provide you with the best user experience possible. Cookie information is stored in your browser and performs functions such as recognising you when you return to our website and helping our team to understand which sections of the website you find most interesting and useful.